
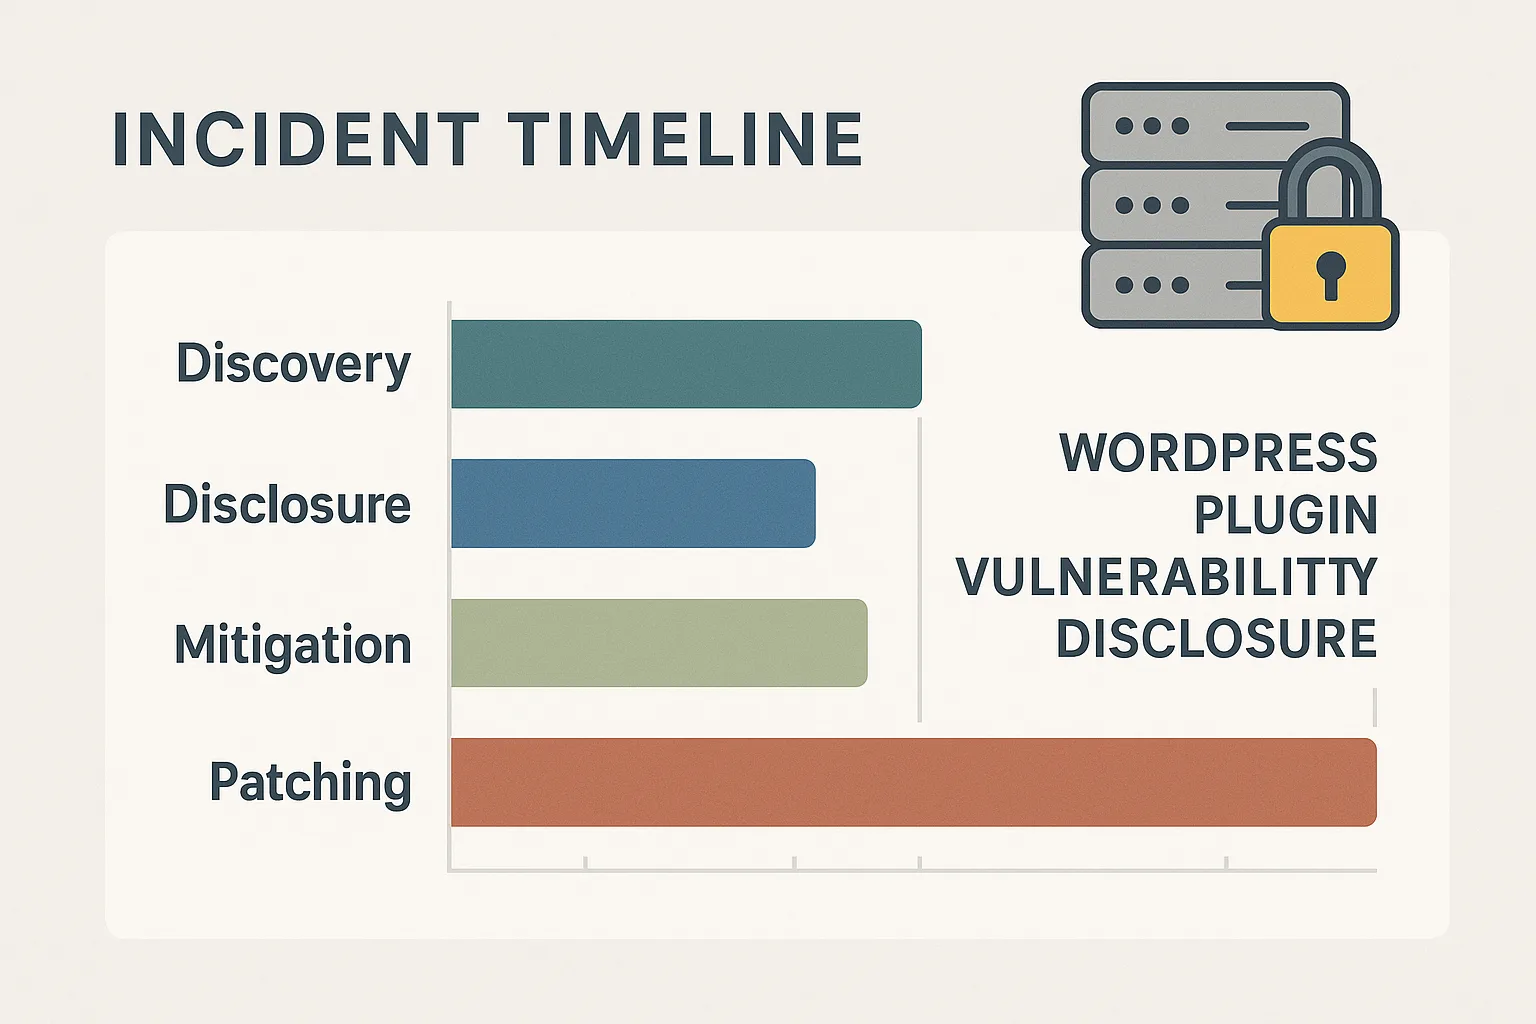
When a vendor discloses a WordPress plugin vulnerability, IT generalists responsible for uptime and incident response must compress weeks of work into hours. This article is a hardening roadmap focused on reducing exploit risk during disclosure windows: immediate containment steps, realistic deep fixes, and a reproducible checklist you can execute with minimal operational disruption.
- Why disclosure windows are uniquely dangerous for WordPress sites
- Quick wins: Immediate actions to stop exploitation
- Practical WAF and webserver rule examples
- Deep fixes: Patching, code hardening, and safe rollback
- Incident mini-case study: Contain first, patch second
- How do you reduce exploit risk during a disclosure window?
- Monitoring and telemetry: measure success
- Actionable checklist
- Communication and roles checklist
- Post-incident forensics quick steps
- How Hack Halt Inc. helps you implement this roadmap
- When should you accept temporary mitigations versus insisting on immediate patching?
- FAQs
Why disclosure windows are uniquely dangerous for WordPress sites
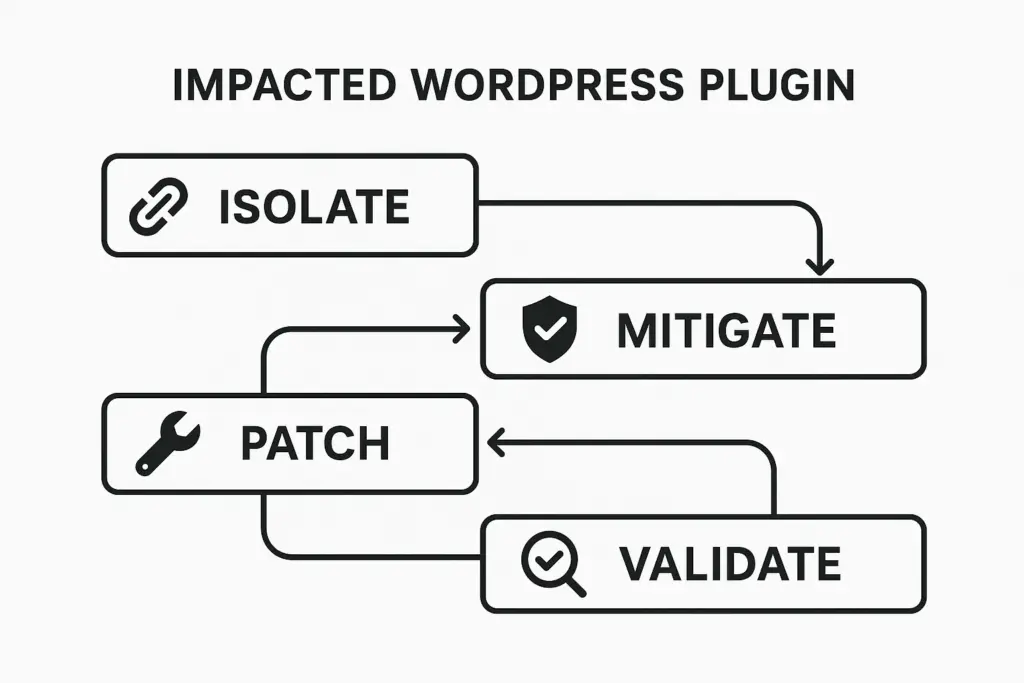
Diagram of isolate, mitigate, patch, validate workflow for plugin incidents
Public disclosure creates a narrow window where exploit code is widely available but many sites remain unpatched. Attackers automate scanning, and common plugin patterns let them scale attacks across tens of thousands of sites quickly. The objective for operators is to reduce the exploitable surface while preserving service availability.
Attack timeline and common vectors
An exploit typically follows this timeline: disclosure or leak, automated scanning, exploitation attempts, and finally exploitation success on unprotected sites. Attackers focus on endpoints introduced by the plugin and on escalating from file upload or AJAX endpoints to remote code execution.
Why plugin-based exploits chain quickly
Plugins often run with high privileges and can expose REST endpoints, file handlers, or short-lived tokens. When a plugin is widely installed, a single vulnerability can chain into mass compromise unless rapid mitigation is applied.
Quick wins: Immediate actions to stop exploitation
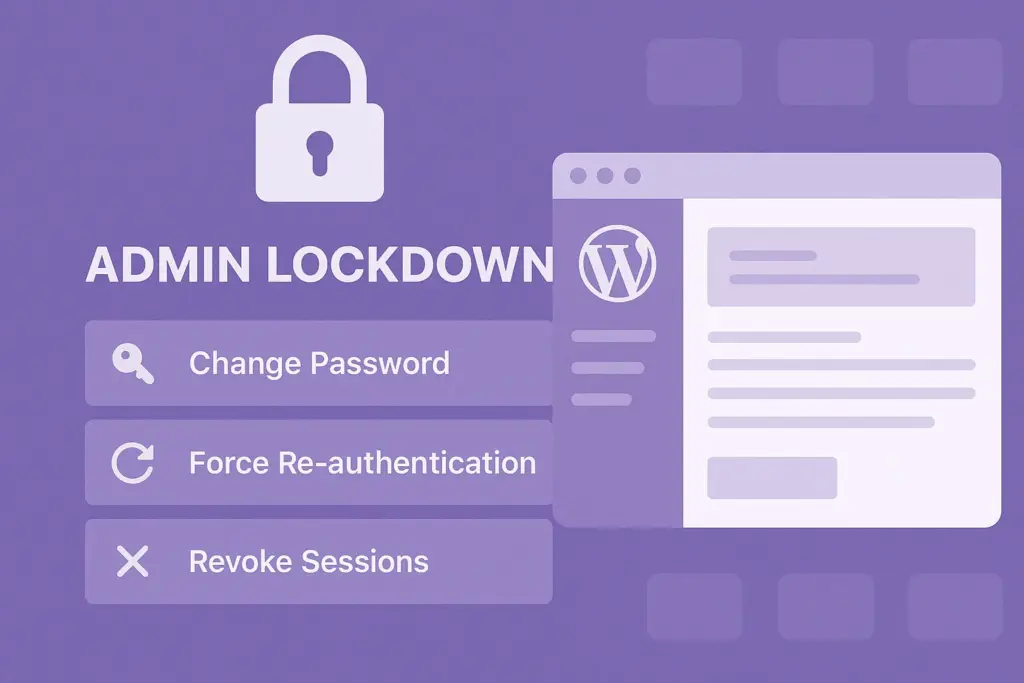
Admin lockdown actions: change passwords and revoke sessions
Isolate the plugin with minimal downtime
Start by disabling or isolating the plugin for non-critical sites or routes. If full disablement causes feature loss, remove or block the plugin’s vulnerable endpoints at the web server or WAF layer instead. When possible, deploy changes during the lowest-traffic minutes and communicate to stakeholders.
Harden authentication and sessions
Force a credential reset for all administrators and revoke persistent sessions for high-risk roles. Enable MFA on administrator accounts. These steps reduce the chance of attackers leveraging credential-based escalation after an initial exploit.
Deploy temporary, evidence-based virtual rules
Create short-lived rules that block the exact request patterns used in public exploits: specific URIs, suspicious payload structures, and anomalous user-agents. Use logs to refine and avoid false positives. These virtual mitigations buy time until a patch is validated.
Practical WAF and webserver rule examples
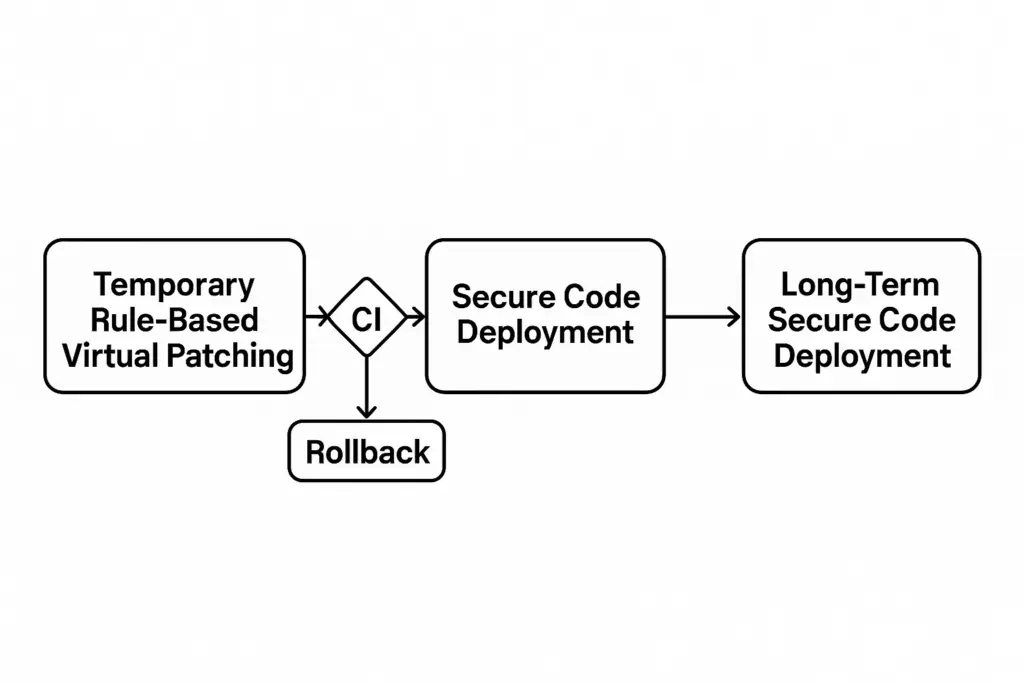
Flowchart for virtual patching into long-term code deployment
Below are conservative examples you can adapt. Test on a staging instance before production. These rules intentionally target specific paths and request characteristics to minimize collateral impact.
Example: block a known vulnerable AJAX action via Nginx (returns 403 for matching query string):
<location>
  if ($request_uri ~* "admin-ajax.php" && $args ~* "action=vulnerable_action") {
    return 403;
  }
</location>
Example: simple ModSecurity style condition to drop requests with suspicious payload markers (pseudo-rule):
SecRule REQUEST_URI "@contains /wp-json/plugin-endpoint" "id:100001,phase:1,deny,status:403,msg:'block plugin disclosure exploit pattern'"
Notes:
- Prefer precise rules keyed to action names, endpoint patterns, or unique JSON fields the exploit uses.
- Avoid broad IP blocks unless the attack traffic is clearly from abusive networks; broad blocks can disrupt legitimate customers.
- Keep virtual rules short-lived and logged — add a header to blocked responses for easy tracking.
Deep fixes: Patching, code hardening, and safe rollback
Structured patch testing
Pull the vendor patch into a staging environment and run focused functional tests that hit the plugin’s public endpoints. Check for regressions and run a baseline scan with your tools (for example, run the WordPress Scanner to catch obvious issues).
Code-level hardening and review
If you maintain a fork or a temporary patch, remove unsafe entry points, validate all input paths, and add strict capability checks. Have another developer or an external reviewer validate the fix before production deployment.
Staging and rollback implementation steps
- Create a full snapshot of the staging environment database and filesystem. Label it with the incident identifier and timestamp.
- Apply the vendor patch in staging. Run automated test suites and targeted API calls against the plugin endpoints.
- Perform a smoke test on critical user flows (logins, checkouts, content publishing). Use feature flags to limit exposure if the plugin integrates into many UX paths.
- Prepare rollback steps before deployment: documented commands and a snapshot restore plan. Test rollback in staging so you can complete it in under your maintenance window.
Common rollback commands (example using WP-CLI and snapshot tooling):
wp plugin deactivate vulnerable-plugin
# restore files from snapshot
snapshot restore --name="pre-patch-2026-09-02"
wp cache flush
Incident mini-case study: Contain first, patch second
A regional publisher discovered an RCE disclosure in a widely used plugin during a vendor advisory. The site team immediately blocked the plugin’s AJAX handler with a temporary rule and forced admin password resets. While mitigation was active, the team validated a vendor patch in staging, then rolled it out during a low-traffic window. Post-deployment telemetry showed no exploit reattempts.
The team used the incident to update their playbook; their follow-up included automated scans and a schedule to reevaluate plugin usage. If you’d like a deeper incident roadmap, see the Reduce Plugin Exploit Risk During Disclosure Windows guide and the Operational Roadmap: Harden WordPress and Contain Malware & Web Shells.
How do you reduce exploit risk during a disclosure window?
Act immediately with containment—isolate the plugin, apply virtual rules to block exploit traffic, and harden admin access—then validate and deploy a tested patch in staging with a rollback plan. Treat virtual mitigations as temporary: they protect uptime while you complete a safe code-level remediation.
Monitoring and telemetry: measure success
After mitigation and patch rollout, monitor logs and telemetry closely for at least 72 hours. Look for repeated blocked requests, new error spikes, or unexpected outbound activity. Use these signals to confirm whether the mitigation stopped exploitation or whether further remediation is needed.
What to log and where to look
Prioritize web server access logs, plugin error logs, and any application-layer telemetry that shows malformed requests or repeated attempts against specific endpoints. Correlate these with authentication events and file modification times.
Helpful quick commands to check for suspicious modifications (run as an operator):
# find files modified in the last 7 days
find /var/www/html -type f -mtime -7 -print
# search for newly added PHP files in uploads
find /var/www/html/wp-content/uploads -name "*.php" -print
Use scanning as verification
Run targeted scans against the patched endpoint and the wider site to ensure there are no persistence artifacts. Automated scans should be paired with manual verification for high-risk endpoints.
Actionable checklist
- 0–2 hours: Isolate or disable plugin; block vulnerable endpoints with temporary rules; force admin credential resets and revoke sessions. Notify IR lead and SRE.
- 2–8 hours: Deploy virtual rules tuned to exploit signatures; begin staging patch validation; notify stakeholders and schedule a change window. Log all mitigations and assign owners.
- 8–24 hours: Validate patch in staging, run targeted scans with the WordPress Scanner, prepare rollback and test it in a staging snapshot. Run integrity checks and a config audit.
- 24–72 hours: Roll out patch during a controlled window, monitor telemetry for reattempts, and keep virtual rules active until confidence is high. Maintain a surge team for rapid rollback if needed.
- Post-incident: Record timeline, refine playbooks, add the plugin to a patch monitoring schedule, and run a lessons-learned with operations and development teams.
Communication and roles checklist
Clear communication reduces mistaken changes and speeds containment. Use a simple RACI model for the first hour:
- Responsible: Incident Response Lead — initiates containment and stakeholder notifications.
- Accountable: Site Reliability Engineer — implements virtual rules and staging validation.
- Consulted: Plugin/Dev Owner and Security SME — validate patch and code changes.
- Informed: Business Stakeholders and Customer Support — receive status updates and impact windows.
Post-incident forensics quick steps
- Preserve logs and snapshots immediately; increase log retention for the incident scope.
- Extract indicators of compromise (IP addresses, URIs, payload strings) and add them to detection rules.
- Perform file integrity comparisons against a known-good baseline or a fresh WordPress install.
- Document timelines and decisions—this documentation speeds future responses and auditability.
How Hack Halt Inc. helps you implement this roadmap
Hack Halt Inc. provides the operator controls referenced in this roadmap: fast virtual mitigation, telemetry to validate rules, and tools to automate staging and scans. See the product documentation for configuration examples and scripted playbooks at https://hackhalt.com/documentation/.
To implement these controls quickly, consider a direct deployment: Start with Hack Halt to gain virtual patching and incident telemetry that reduce your disclosure window risk. Explore product tiers such as Pro, ProSecure, and the free option Hack Halt Free to find the right operational fit.
When should you accept temporary mitigations versus insisting on immediate patching?
Temporary mitigations are appropriate when a verified exploit is in the wild and a vendor patch is not yet safe or available; they are short-term stopgaps. Immediate code-level patching is always the end goal—use virtual rules to protect uptime while you validate and deploy the fix.
FAQs
How long do virtual mitigations usually remain in place?
Virtual mitigations should remain until a validated, tested patch is deployed and monitoring shows no recurrence—typically 48–72 hours after a successful rollout, longer if the patch is partial or staged.
Can I automate endpoint blocking for future disclosures?
Yes. Record exploit signatures and automate temporary rule deployment through your change pipeline or with operator tooling. Keep automated rules conservative to avoid service disruption and require manual approval for broad blocks.
What if the vendor patch breaks functionality?
Test in staging first. If functionality breaks, prepare a controlled rollback snapshot and coordinate a staged release with feature flags or conditional deployment, followed by further hardening and code fixes.
Who should be notified internally during the first hour?
Notify the incident response lead, site reliability engineer, and business stakeholders. Clear roles reduce noisy changes and help prioritize containment versus feature availability decisions.
If you want a ready-to-run operator playbook, refer to the detailed guide at Reduce Plugin Exploit Risk During Disclosure Windows and the broader Operational Roadmap. For scanning and verification, the WordPress Scanner integrates with the workflows above and helps confirm remediation.
For related reading on complementary defenses and threat modeling, see our posts on why other plugins may not be enough: Why Other Plugins Aren’t Enough: Stop Plugin Exploits During Disclosure Windows and the multi-part series Why Other Plugins Aren’t Enough: A Threat-Model Walkthrough to Stop Brute-Force & Credential Stuffing.